Welcome to Vintage Confections, a baking blog dedicated to celebrating decadent and approachable Southern dessert recipes for every season of the year and special occasion. Here you’ll find a delicious mix of nostalgic, vintage Southern dessert recipes that take you back to your childhood, and Southern desserts with a modern twist.
Citrus Recipes


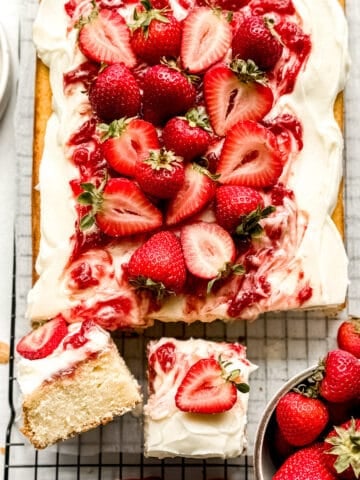
Reader Favorites
Discover the recipes readers are loving!! These reader favorites are all about chocolate and cake, two classics that never go out of style.


Let's Bake!!
Currently craving...


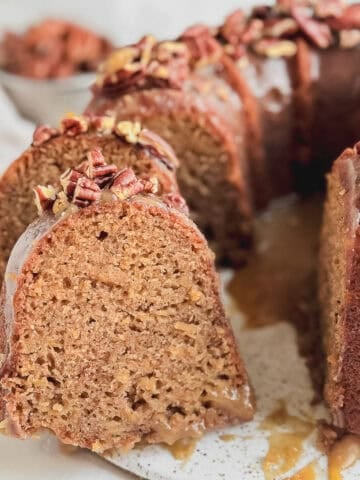
Homemade Bundt Cake Recipes
It’s always a good time for cake!! Whether you’re craving chocolate, something a little fruity, or a Southern classic, you're sure to find the perfect bundt cake recipe here!!


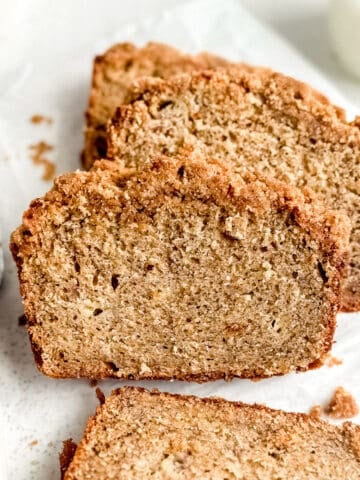
Vintage Southern Recipes
Immerse yourself in the world of Southern baking with my collection of classic Southern recipes, and discover why these tried and true gems are beloved across the South.


Hi! I'M LAUREN,
Welcome to Vintage Confections!! I am a self-taught baker, recipe developer, & food photographer. Here you will find a delicious mix of approachable vintage Southern dessert recipes and Southern desserts with a modern twist, all of which you can feel confident baking in your kitchen!!
Fresh from the oven
Recent
Recipes
Explore our new recipes, straight from the oven and just in time for your weekend baking plans!!

Cookie Recipes
Find your new go to cookie recipe right here!! These cookie recipes are full of flavor and easy to make, which makes them perfect for satisfying all cookie cravings.


